Satellites have revolutionized modern communication, broadcasting, navigation, and weather monitoring. From watching international news channels to using GPS while driving, satellites are an essential part of our daily lives. In this article, we explore what satellites are, their orbital types, and how to receive their signals at home.
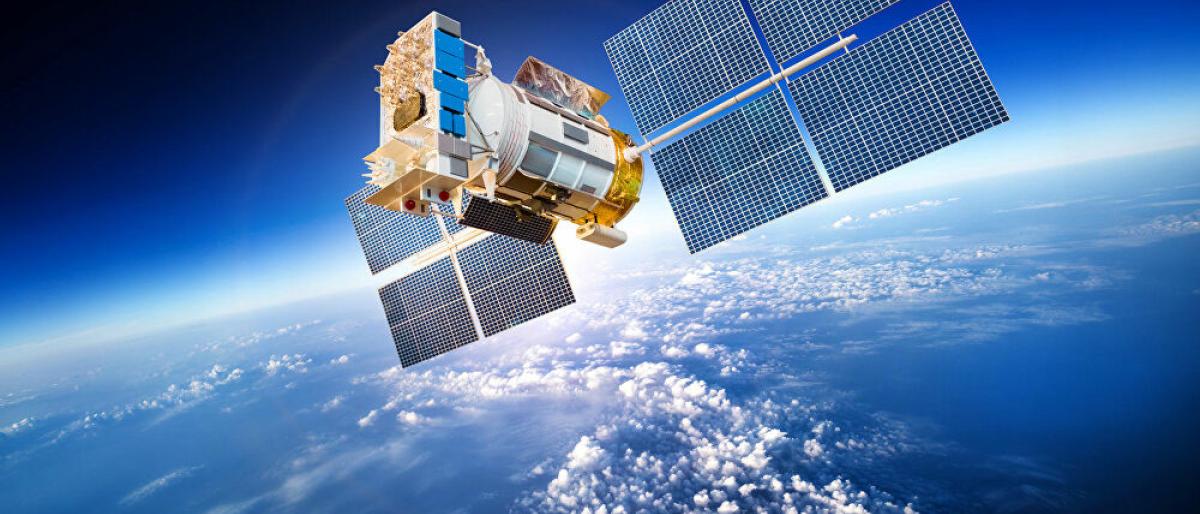
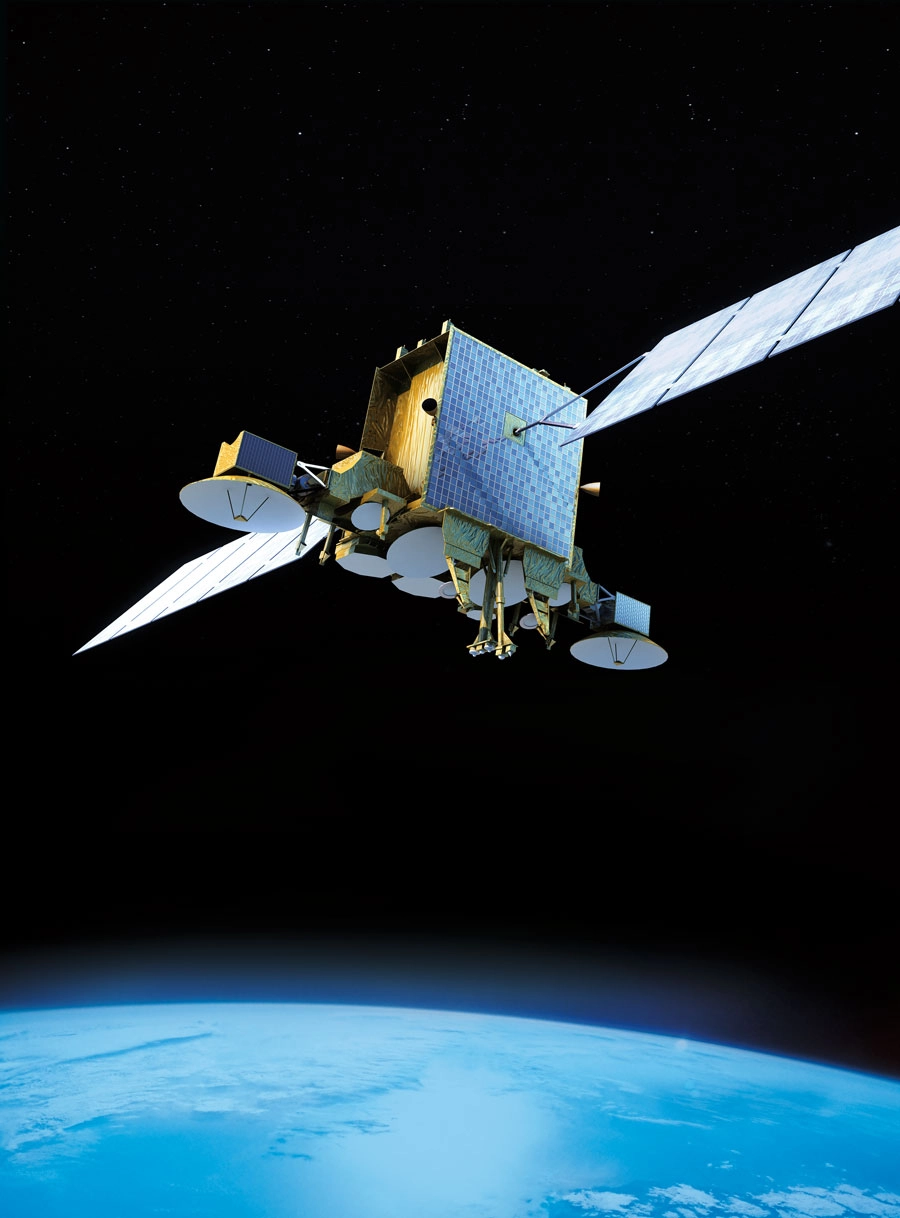
🌍 What Is a Satellite?
A satellite is an artificial object launched into space to orbit a planet or other celestial body. Satellites are used for a wide range of applications, including:
-
Television and radio broadcasting
-
Internet and telecommunication
-
GPS and global navigation
-
Military reconnaissance
-
Weather forecasting and climate research
-
Earth observation and scientific exploration
🧭 Types of Satellite Orbits
Satellites orbit the Earth at different heights depending on their mission. The three main types of satellite orbits are:
1. LEO – Low Earth Orbit (160 km – 2,000 km)
-
Orbits Earth in 90–120 minutes
-
Used for: internet (e.g., Starlink), Earth imaging, space stations (ISS)
-
Low latency and high resolution
-
Requires many satellites for global coverage
2. MEO – Medium Earth Orbit (2,000 km – 35,786 km)
-
Orbits Earth in 2–12 hours
-
Used for: GPS, GLONASS, Galileo navigation systems
-
Balanced latency and coverage
-
Fewer satellites needed than LEO
3. GEO – Geostationary Orbit (35,786 km)
-
Remains fixed over one location on the equator
-
Orbits the Earth in 24 hours (same as Earth’s rotation)
-
Used for: TV broadcasting (e.g., Nilesat, Hotbird), communications, weather satellites
-
Provides constant coverage of a large area
-
Higher latency but ideal for broadcasting
📡 How to Receive Satellite Signals at Home
To watch satellite TV or receive satellite data, you need a satellite reception system. Here’s how it works:
🧰 Essential Components:
| Component | Function |
|---|---|
| Satellite Dish | Captures signals from the satellite and reflects them to the LNB |
| LNB (Low-Noise Block) | Converts and amplifies signals from the satellite into usable frequencies |
| Receiver (Decoder) | Translates satellite signals into video/audio or data |
| TV or Monitor | Displays the content |
🛰️ Steps to Receive a Satellite Signal:
-
Choose the Right Satellite:
Example: Hotbird (13°E), Nilesat (7°W), Astra (19.2°E) -
Position the Dish:
-
Use a compass or satellite finder to align the dish to the satellite’s position.
-
Adjust azimuth (left/right), elevation (up/down), and skew (LNB tilt).
-
Fine-tune the signal using a signal meter or the receiver’s signal strength screen.
-
-
Connect the Equipment:
-
Connect LNB to the receiver using a coaxial cable.
-
Connect the receiver to your TV using HDMI or AV cables.
-
-
Scan for Channels:
-
Use your receiver’s menu to scan transponders or manually enter frequency settings.
-
Example:
-
- Save Channels and Enjoy!
💡 Tips for Better Signal Quality:
-
Use a high-quality dish (at least 60–80 cm for most satellites).
-
Ensure there are no obstacles (trees, buildings) between the dish and the sky.
-
Secure the dish firmly to avoid movement due to wind.
-
Weather can affect signal—especially heavy rain (known as rain fade).
🛰️ Popular Broadcasting Satellites:
| Satellite Name | Orbital Position | Usage |
|---|---|---|
| Nilesat | 7° West | Arabic and African channels |
| Hotbird | 13° East | European and some Arabic TV |
| Astra 19.2°E | 19.2° East | Western European channels |
| Galaxy 19 | 97° West | North American international TV |
How to Efficiently Identify and Tune New Satellite Channels
Satellite channels are frequently added, updated, or moved to new frequencies. To ensure you never miss new broadcasts, it is important to know how to efficiently detect and tune newly launched channels using the correct scanning methods and proper receiver settings.
1. Verify the Latest Frequency Information
- Always check updated frequency, polarization, and symbol rate details from reliable satellite sources.
- Confirm the satellite orbital position (e.g., 7°W, 13°E) before scanning.
- Incorrect parameters are the most common reason new channels are not detected.
2. Select the Appropriate Scanning Method
- Manual Scan: Ideal when you have specific transponder details for a new channel.
- Blind Scan: Automatically searches all active frequencies to discover newly added channels.
- Network Scan (if available) can detect additional related transponders.
3. Optimize Dish Alignment for Weak New Signals
- New channels sometimes broadcast with lower power during testing phases.
- Fine-tune azimuth and elevation for maximum signal quality.
- Adjust LNB skew slightly to improve signal reception.
4. Update Receiver Firmware
- Ensure your receiver software supports new compression standards like DVB-S2 and HEVC.
- Firmware updates improve compatibility with recently activated transponders.
- Restart the receiver after updates before scanning again.
5. Organize and Manage New Channels
- Sort newly found channels into favorites lists for easy access.
- Delete duplicate or inactive channels after scanning.
- Rename test channels if needed for better organization.
6. Troubleshooting if Channels Do Not Appear
- Recheck frequency details for accuracy.
- Confirm signal quality is stable above acceptable levels.
- Inspect cables and LNB connections if scanning fails repeatedly.
By combining updated frequency data, proper dish alignment, and the correct scan method, users can efficiently detect and tune new satellite channels while maintaining a clean and organized channel list.
Setting Your Receiver to Automatically Follow New Channels
Modern satellite receivers allow automatic updates of the channel list without manually scanning each frequency. This ensures you always access new channels and maintain a complete, organized lineup.
1. Enable Auto-Update Features
- Go to your receiver’s Settings or System menu.
- Look for options like Auto Channel Update, Network Scan, or Channel Refresh.
- Turn on the feature to allow the receiver to check for new channels automatically at scheduled times.
2. Connect to the Satellite or Network
- Some receivers require connection to the satellite network or an internet feed for automatic updates.
- Ensure your receiver is online if the feature relies on network-based updates.
3. Schedule Update Times
- Set the update to occur at convenient times, such as overnight, to avoid interrupting viewing.
- Choose daily, weekly, or event-based update intervals if available.
4. Keep Receiver Firmware Updated
- Maintain the latest firmware to support automatic channel updates.
- Check manufacturer notifications to ensure compatibility with the latest transponder changes.
5. Verify Updated Channels
- After auto-update, review your channel list to ensure new channels are added correctly.
- Organize favorites and remove duplicates or inactive channels if necessary.
Enabling automatic channel updates saves time, ensures you never miss newly launched channels, and keeps your receiver’s lineup complete and organized without manual effort.
Strategies to Improve Satellite Channel Reception
Ensuring strong and stable satellite reception requires proper alignment, high-quality equipment, and regular maintenance. Following the right strategies can significantly enhance your viewing experience and reduce interruptions.
1. Optimize Dish Alignment
- Ensure the dish is precisely pointed to the satellite’s azimuth and elevation.
- Use signal strength and quality indicators on your receiver to fine-tune alignment.
- Make small adjustments slowly to achieve the highest stable signal.
2. Adjust LNB Skew Angle
- Rotate the LNB slightly to match the satellite’s polarization.
- Proper skew adjustment reduces interference and improves signal quality.
- Check manufacturer recommendations for your satellite and location.
3. Use High-Quality LNBs and Cables
- Low-noise LNBs provide better signal reception, especially for weak satellites.
- Use well-shielded coaxial cables to prevent interference and signal loss.
- Replace old or damaged cables promptly.
4. Keep Equipment Clean and Maintained
- Remove dust, leaves, or snow from the dish surface regularly.
- Check for loose connections and tighten F-connectors as needed.
- Inspect for rust or physical damage and repair when necessary.
5. Avoid Obstacles and Interference
- Ensure there are no trees, buildings, or other obstructions blocking the line of sight to the satellite.
- Avoid placing the dish near devices that may cause electromagnetic interference.
- Choose an elevated location if possible to maximize signal reception.
6. Regularly Monitor and Update Settings
- Check signal indicators periodically to detect any drop in quality.
- Update transponder lists and receiver firmware to maintain optimal performance.
- Re-scan channels if you notice missing or weak channels.
Implementing these strategies ensures a strong, clear, and reliable satellite signal, providing uninterrupted access to your favorite channels and high-quality viewing experience.
How to Check the Integrity of Cables and Connectors
The quality of your satellite signal heavily depends on the condition of cables and connectors. Damaged or loose connections can cause signal loss, poor picture quality, or intermittent reception. Regular inspection helps maintain stable viewing.
1. Inspect Cables Visually
- Check for cuts, bends, or exposed wires along the entire cable length.
- Look for signs of wear, corrosion, or water damage on outdoor cables.
- Replace any damaged cables immediately to prevent signal degradation.
2. Check Connector Tightness
- Ensure that F-connectors and other cable connectors are securely attached to the receiver and LNB.
- Avoid over-tightening, which can damage threads or the connector itself.
- Periodically unplug and reattach connectors to ensure proper contact.
3. Test with a Signal Meter
- Use a satellite signal meter or your receiver’s signal quality indicator to test the signal.
- Weak or fluctuating readings may indicate cable issues or poor connections.
- Trace the cable to find any faulty section and replace if necessary.
4. Check for Interference
- Ensure cables are routed away from electrical devices that may cause interference.
- Use high-quality coaxial cables with proper shielding to minimize signal loss.
5. Maintain Regular Checks
- Inspect cables and connectors periodically, especially before major events or important broadcasts.
- Replace aging cables to ensure consistent signal quality over time.
By regularly inspecting and maintaining your cables and connectors, you can prevent signal issues, ensure stable reception, and enjoy uninterrupted access to satellite channels.
How to Choose the Right Satellites for Watching Sports
Choosing the right satellite is essential for accessing sports channels and live broadcasts. The correct satellite ensures better coverage, higher signal quality, and access to regional or international sports networks.
1. Identify Your Favorite Sports Channels
- List the channels you want to watch (e.g., ESPN, beIN Sports, Sky Sports).
- Check which satellites these channels are broadcasting from.
- Focus on satellites with the widest coverage for your preferred channels.
2. Check Satellite Footprints
- Look at the satellite’s coverage map (footprint) to ensure strong reception in your location.
- Choose satellites with high signal strength for HD or 4K sports broadcasts.
- Consider satellites that cover multiple regions if you want international sports.
3. Consider Frequency and Transponder Details
- Verify the frequencies, polarization, and symbol rates used for sports channels.
- Satellites with stable and high-power transponders improve reception quality.
- Check for regular updates to frequencies for live sports events.
4. Evaluate Local Regulations and Availability
- Some sports channels may be restricted to certain regions or satellites.
- Choose satellites that legally broadcast the sports content you want.
- Ensure you have access to the required subscriptions if channels are encrypted.
5. Use Receiver Tools and Apps
- Modern receivers can suggest satellites based on channel preferences.
- Satellite tracking apps can help locate the best positions for sports broadcasts.
- Regularly update transponder lists for newly launched sports channels.
By selecting the right satellites, you ensure uninterrupted access to live sports, higher signal quality, and a comprehensive lineup of regional and international sports channels.
How to Protect Your Satellite Receiver from Data Loss
Satellite receivers store important information such as channel lists, favorites, and settings. Protecting this data ensures uninterrupted viewing and saves time that would otherwise be spent on reconfiguring the receiver.
1. Regularly Backup Your Channel List
- Use a USB flash drive to export channel lists and receiver settings.
- Perform backups after adding new channels or changing settings.
- Keep multiple backup copies in case one file becomes corrupted.
2. Update Firmware Carefully
- Only install official firmware updates from your receiver manufacturer.
- Ensure the power supply is stable during firmware installation to avoid data corruption.
- Restart the receiver after updates and verify that your channels and settings remain intact.
3. Avoid Power Interruptions
- Use a surge protector or UPS to prevent sudden power outages.
- Do not unplug the receiver while it is saving settings or performing updates.
4. Handle USB Devices Carefully
- Safely remove USB drives after backups to prevent corruption.
- Use quality USB drives formatted in FAT32 or exFAT for compatibility.
5. Restore Data When Needed
- Keep instructions ready for restoring channel lists and settings from backups.
- After restoration, verify that all channels, favorites, and custom settings are working correctly.
By following these precautions, you can protect your receiver from accidental data loss, ensure stable channel reception, and maintain your personalized viewing experience.
How to Restore Channels After a Factory Reset
Performing a factory reset on your satellite receiver erases all saved channels, favorites, and settings. Restoring your channels correctly ensures you can continue enjoying your favorite content without starting from scratch.
1. Backup Before Reset
- If possible, always create a backup of your channel list and settings before performing a factory reset.
- Use a USB flash drive or the receiver’s built-in backup feature.
- Store the backup file safely to prevent corruption or loss.
2. Perform the Factory Reset
- Access the Settings or System menu on your receiver.
- Select Factory Reset or Restore Default Settings.
- Confirm the action and wait until the reset is complete.
3. Restore Channels from Backup
- Connect your USB drive with the backup file to the receiver.
- Use the Restore or Import Channels option in the menu.
- Verify that all channels, favorites, and settings have been restored correctly.
4. Manual Channel Scan (If Backup Is Unavailable)
- Use the Auto Scan or Network Scan feature to search for available channels.
- For specific channels, perform a manual scan using the frequency, polarization, and symbol rate.
- Save the channels after scanning and organize your favorites as needed.
5. Verify Signal and Settings
- Check the signal strength and quality for each restored channel.
- Adjust dish alignment or LNB skew if necessary to improve reception.
- Ensure parental controls and other custom settings are reapplied.
By following these steps, you can quickly restore your channels after a factory reset, minimizing downtime and ensuring a seamless viewing experience.